
If there’s one thing to know about me it’s that I absolutely love a good blowout. Since I can’t go anywhere to get one done currently, knowing how to do a DIY blowout is important!
There is nothing better than sipping a glass of champagne while someone highly skilled is doing your hair and taking you from “I haven’t washed my hair in five days” to straight-up glam.
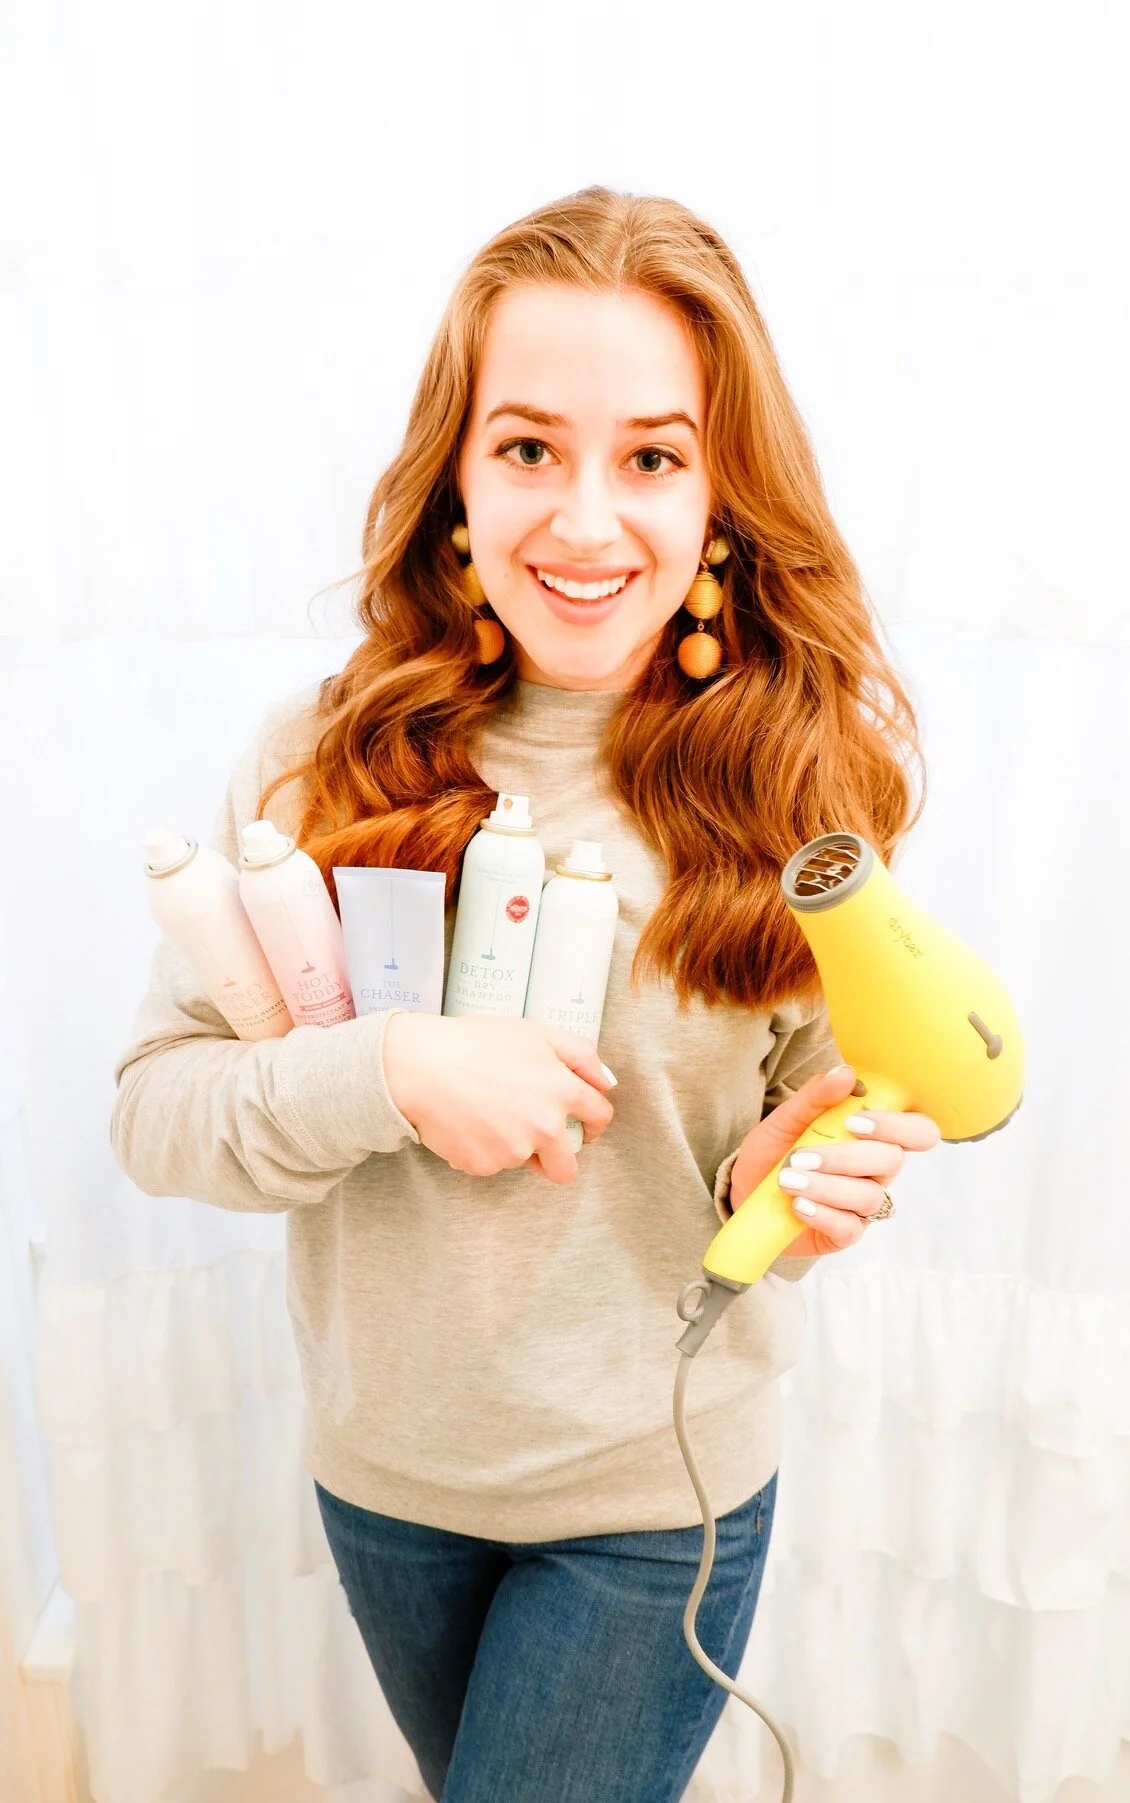
DryBar is basically my second home and I’ve been a loyal Barfly club member since 2018. Take a look at my hair products on any given day and you’ll notice a very clear theme… I’m a mega loyalist. There was a running joke at my last job that at any given time I would probably have two different travel-sized products in my purse at any given moment, not only to help friends out but to freshen up ahead of my client meetings.
Sadly, with everything going on I haven’t been able to get a proper blowout in about a month. A few days ago, I was craving some good hair, so I assembled my collection and had a DIY DryBar Cosmo party in my bathroom! Afterwards, I felt like I could take on the world and like a 10/10.
Even though we’re not going anywhere right now, here’s a step by step (with products included) on how to achieve the perfect DryBar inspired blowout!

Clean Hair Is Important
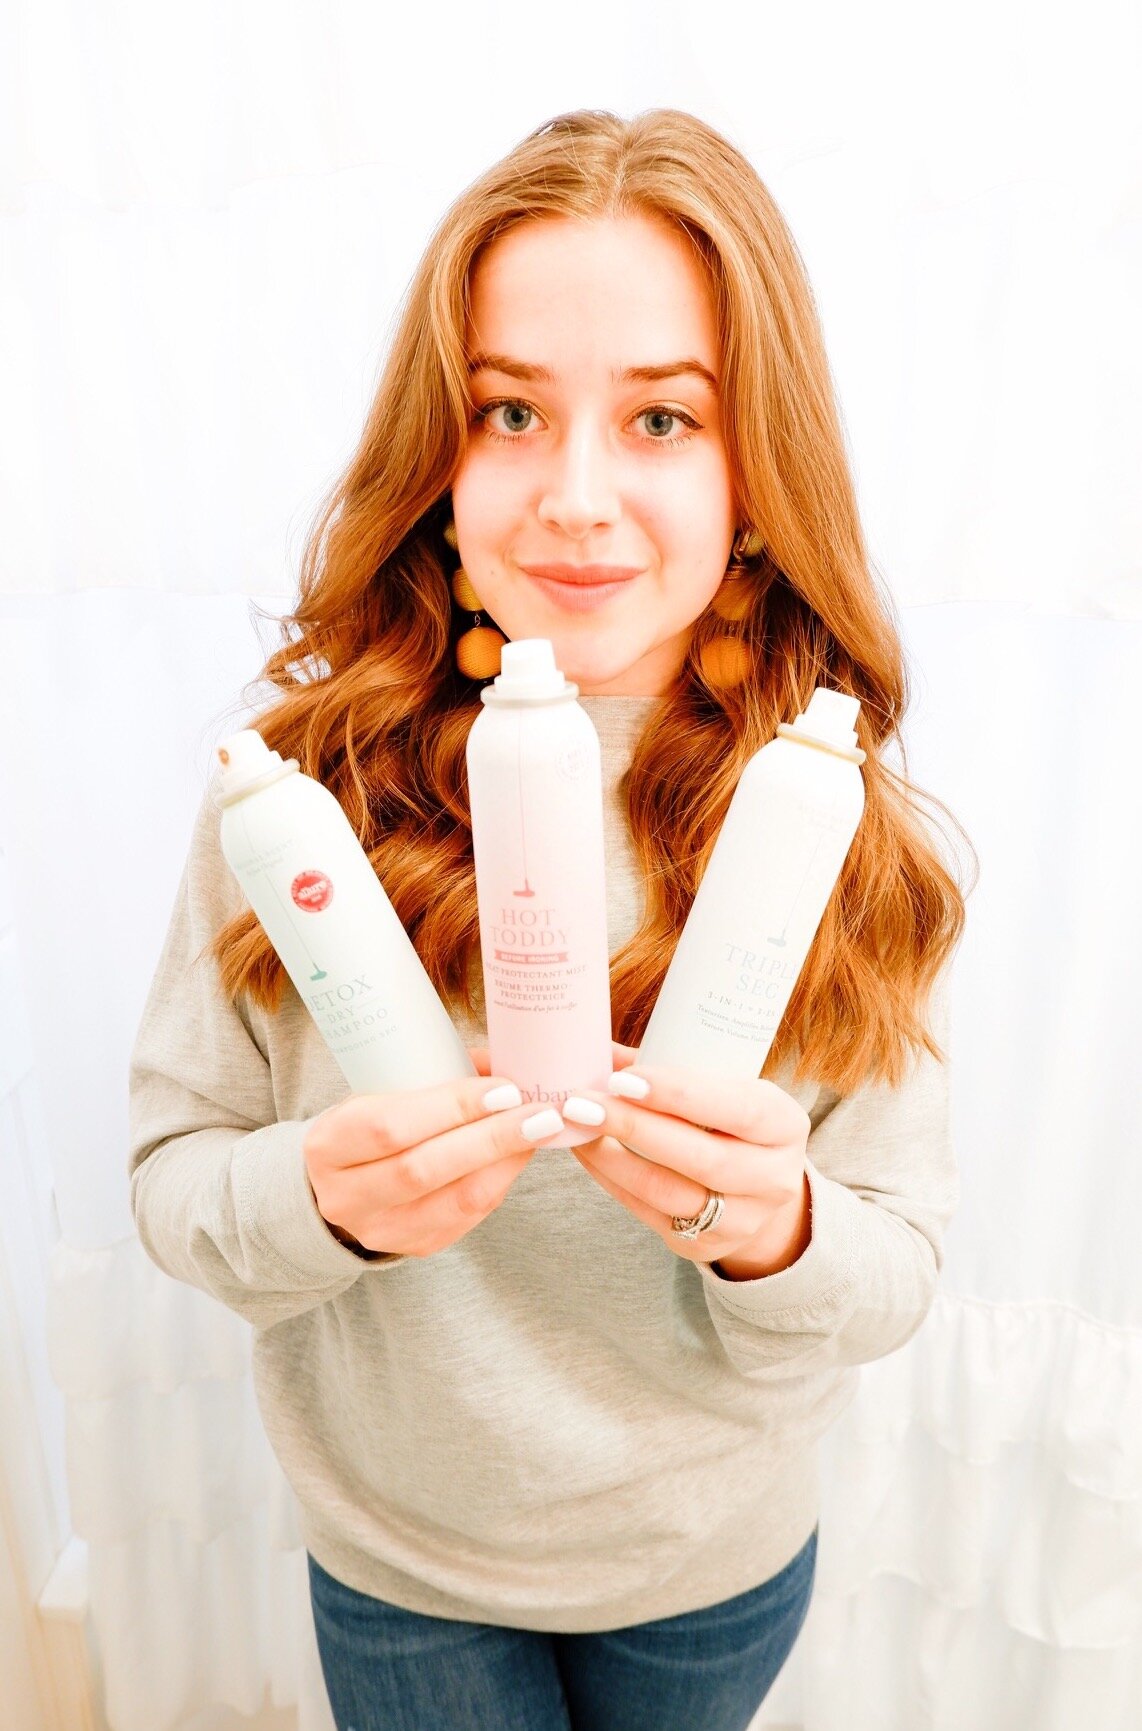
The best blowouts always start with clean hair! It’ll definitely last longer and you can’t beat the volume you’ll have at your roots! My tried and true favorite shampoo and conditioner set is the Sake Bomb (can’t beat the original!) If you use a lot of product, this is the best one for you because the charcoal extract thoroughly cleans your hair and allows you to start fresh every wash! For an extra silky finish, check out the Liquid Glass shampoo and conditioner!
Use The Right Heat Tools
Once your hair is clean, the next step is to begin the actual blowout itself! Keeping your hair healthy and protected is incredibly important! My hair is naturally straight, so I only use the Buttercup Hairdryer and a Full Pint Round Brush to begin this step. I always use the Hot Toddy Heat Protector when drying my hair and curling it. This keeps it healthy and prevents split ends.
I section off my hair with the Hold Me Hair Clips and begin with the lowest layers first as I rough dry the hair and then section it off with the round brush. These curls don’t hold forever but to begin to build volume at the roots and will shorten the time you’ll spend with the curling iron. Continue working through the sections of hair until you’ve dried your entire head. I have a lot of very fine hair, so this step can take me about 25 minutes, but I promise you it’s a necessary part of the process.
Time To Style And Bend
Once you’re completely dry, it’s time to style! DryBar has three amazing options for different hair types and goals. For the curls I do, I’m a big fan of the Three Day Bender Curling Iron. It has a twist component which allows you to hold your hair in place and get the hair nice and tight around the barrel, which produces curls that last longer.
If you’re going for a softer look, the Double Shot Brush Blow Dry Brush helps finish out the hairdryer and add volume to your roots as well as a softer bend at the end.
If you have naturally wavy hair, this product will be a god send! If you have tighter curls and are looking for straight hair, the Brush Crush Heated Straightening Brush is the tool for you!
Because my hair is pin-straight, I’m a loyalist to my curling iron (basically by default because I need 400 degrees to hold a style).
When I’m curling my hair, I like to break my hair into three sections, similar to how I blew it out, and start curling it in small sections. I comb it out and relax the look at the end, so even if it’s a little tight while I’m doing it, the end result won’t look like Shirley Temple. When I get close to my face, I make sure to bend it out, rather than in. This will give your hair more natural direction and frame your face nicely.
Pro-tip from Victoria’s Secret: give your hair a little twist at the end when you put it to the heat. This will prevent straight ends (unless you’re going for a Mai Tai look) and give fuller body to your ends!

Finishing Touches
Once your hair is curled and styled, you’re ready to lock in the glam for (literally) days to come! To soften the curls and give a more relaxed and daytime friendly style, the Chaser Shine Cream is the way to go. This product not only smells like classic DryBar products, but tames flyaways and breaks up a potential “ringlet” look.
The quintessential DryBar product is your next step: Triple Sec! This holy grail has a massive cult following (there’s a candle in this scent and yes, I do own it) and provides texture and volume all day long, without leaving residue on your hands. Simply flip your head upside down, and spray your roots to lock in that height and shake your hands through your locks!
Your final step is to apply a very small amount of The Sheriff Hairspray. One huge misconception of hairspray is that without half a bottle your style will not hold. This could not be further from the truth; the more you apply, the heavier your hair will be and the faster it will fall. Simply spray around you face and possibly a little around the end and then leave it! You’re finished!
There you have it! A step-by-step guide to achieving that perfect DryBar inspired blowout for your next FaceTime call. Let me know what you think in the comments and what your favorite product is! Good hair for all (even in quarantine!)

